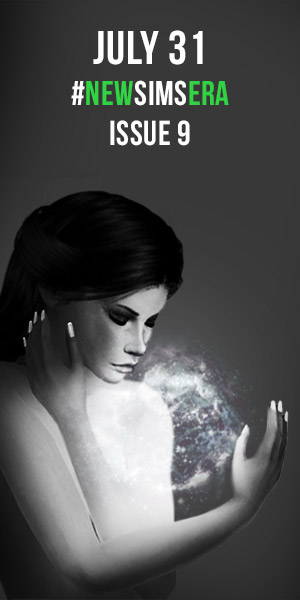
An easy and elegant effect suitable for your favorite Sims photos. Do you want to know how it’s done? Follow the steps then!
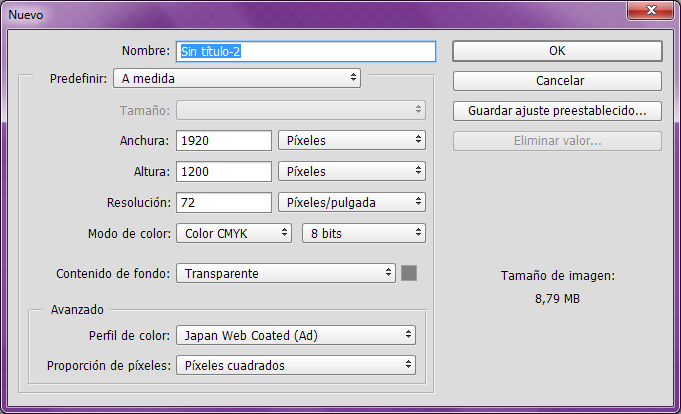
Step 1
Create a new document of 1920x1200 in order to create our brush comfortably. I recommend you to use a white or transparent background since we are going to use dark colors.
Step 2
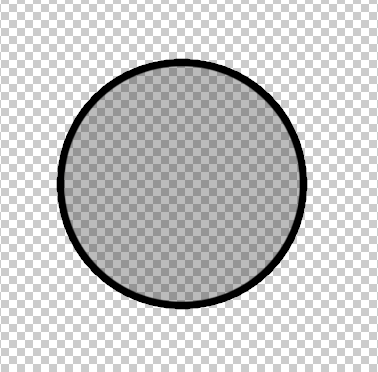
We add a new layer and draw in a back circle on it with the help of a circular brush. The size is not very important but take care it’s not too big or too small compared with the size of the background.

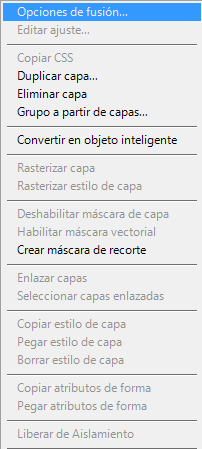
Step 3
With the help of the mouse right button, we click on our circle’s layer and select “binding options” (the first option on the menu) to edit the layer styles.
Step 4
In the pop-up window select “Binding options” and change the fill opacity in “Advanced Blending” from 100% to 50%. You can modify these values slightly depending on your tastes, but I recommend you to follow suit this tutorial if it’s the first time you are doing something like this or you have little knowledge on Photoshop.
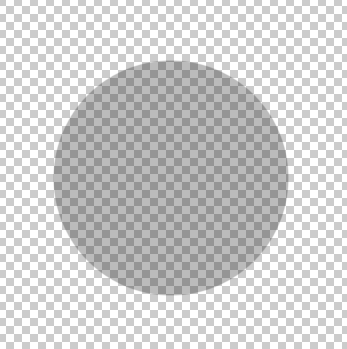
After this step, the circle will appear a bit transparent as in my image.
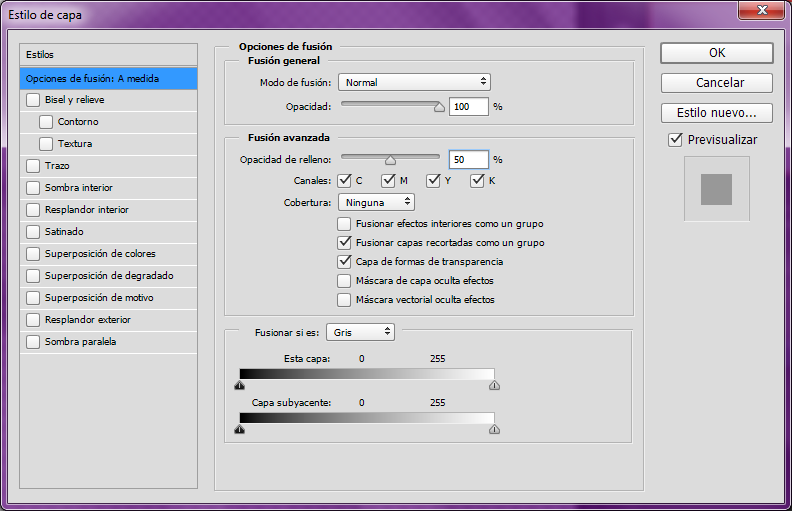
Step 5
Without closing the window, go to the “stroke” option and change it to a size proportional to its size. In my case is of 15px, but if you haven’t used a brush of the same size as mine (437 px) try to make the outline look as similar as possible to mine.
Now you can click “OK” and close the “Layer Style” window.

Step 6
In order to save our brush we only have to select the layer and go to “Edit” in the top horizontal menu and look for the option “Define brush preset” and click it.
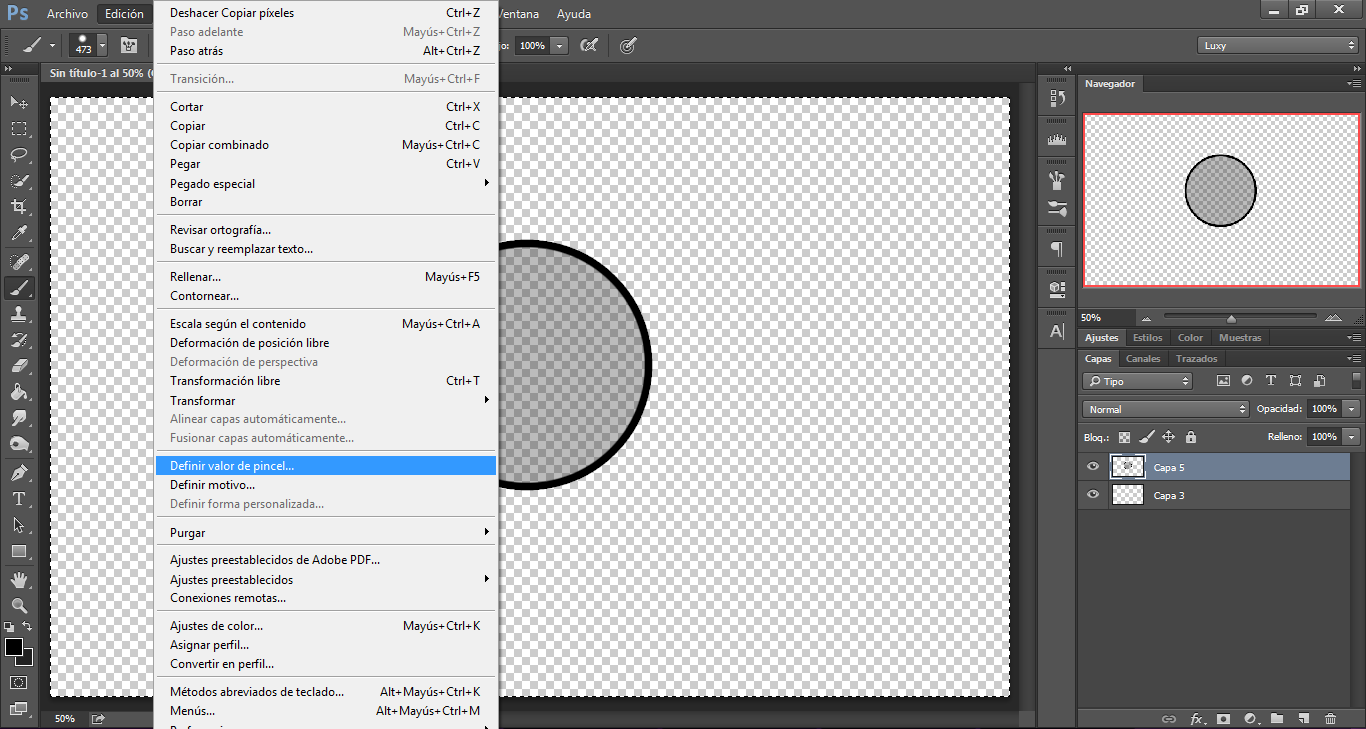
Step 7
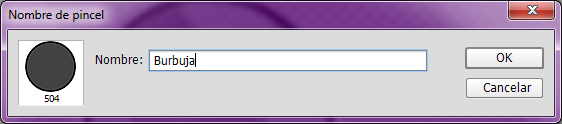
A pop-up window will appear where we can give it a name. I’ve called it “Burbuja” (bubble in Spanish), but you can leave the predefined name if you wish.
If you have saved the brush correctly, you can now close the document without saving.
Step 8
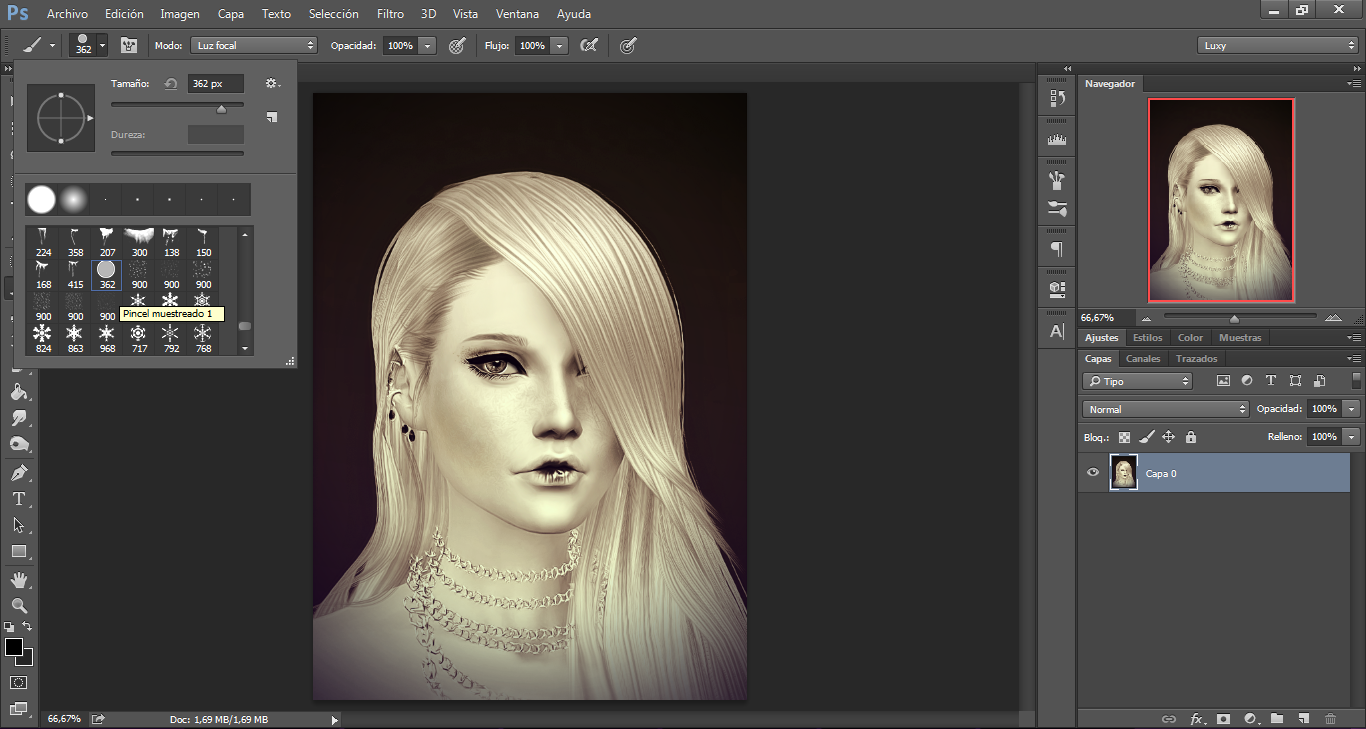
Now open the image with our sims where we want to apply the effect and choose our brush from the brush display. The new brushes are usually found at the end, so I recommend you to start looking for it from the bottom.
We select it and adjust its size according to our tastes.
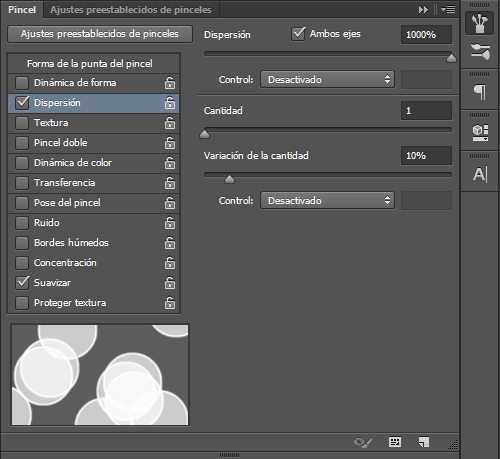
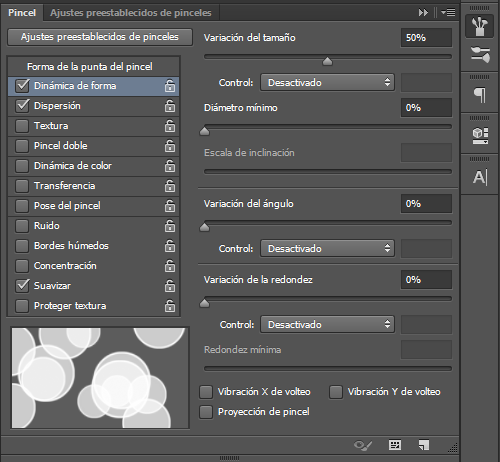
Step 9
Inside “Brushes” (Brush Presets) we will select and modify the following options:
>“Scattering”: I recommend you to increase it to 1000%, check the box “Both axes” and increase “Count Jitter” to 10% for a better finish.
>“Shape dynamics”: Set the “Size Jitter” to a 50% in order each bubble has a different size.
>“Brush Tip Shape”: In order to avoid the flux is too dense, it’s convenient to use an appropriate “spacing”, for example, between 20% and 50%.
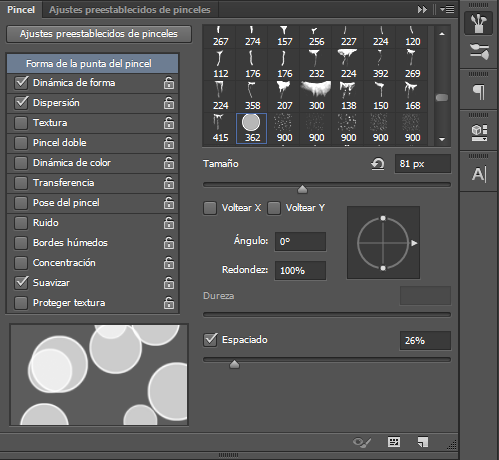
Estos porcentajes pueden variar dependiendo del tamaño de tu pincel, de la fotografía... ¡incluso de tus gustos!
Step 10
Finally, create a new layer and (having selected a color of your preference) start using the brush we’ve just created as you would use any other brush.
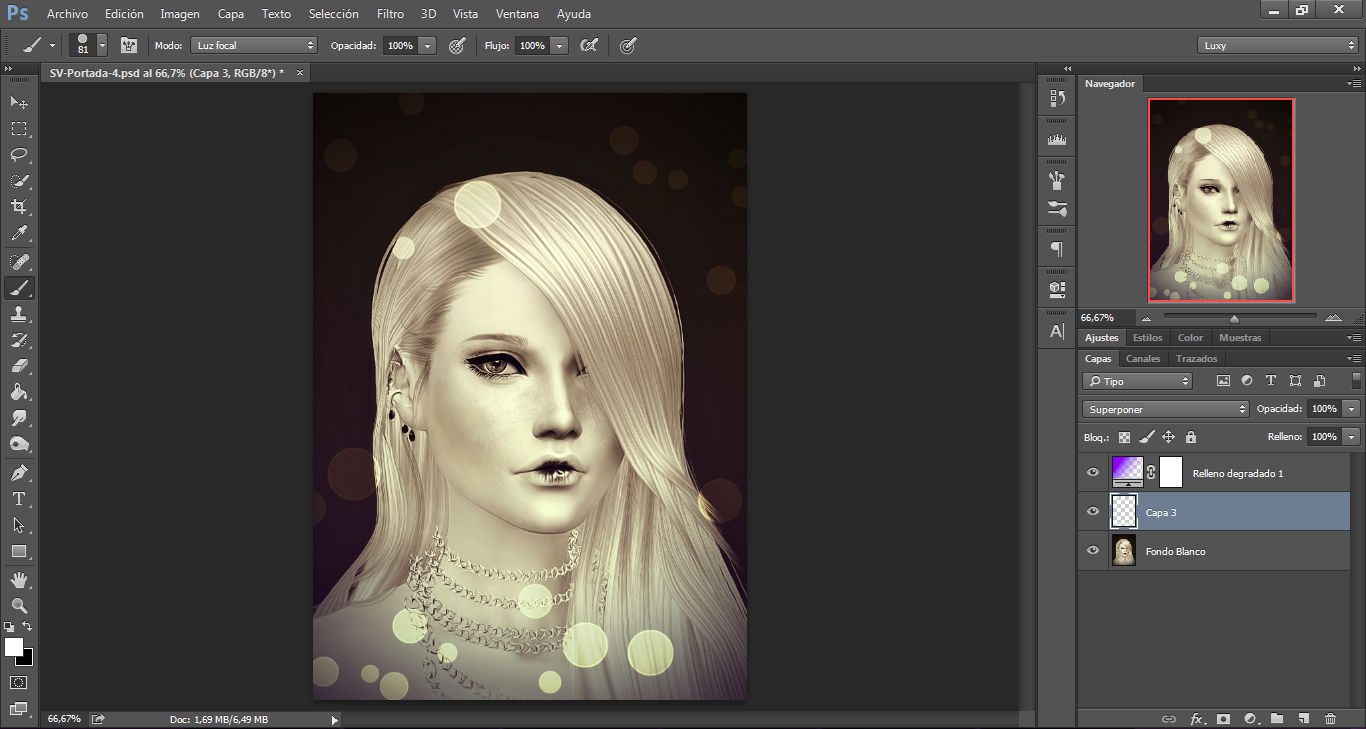
Don’t forget to select in Layer Style -> Blend Modes -> Overlay for a greater transparency and brightness!
There are no comments to display.