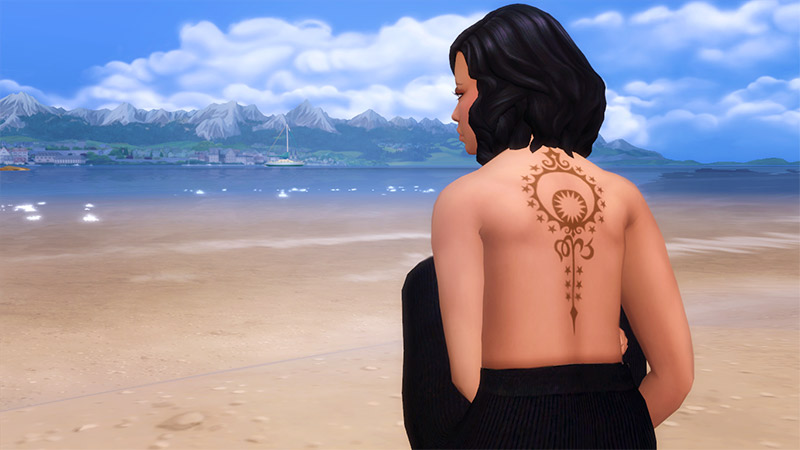
Well I guess more than one of you would like the idea of your sim having more realistic tattoos, but you realize that it is very difficult to find them or simply they don’t exist.
You no longer need to worry about the endless pursuit of tattoos. In this tutorial I’m going to teach you how to make your own tattoos in a few simple steps.
Para comenzar necesitaremos lo siguiente:
- Photoshop
- Paint .NET or .DDS Plugin
- Sims 4 Studio
- Body Textures
- Tattoo images
Before we start, I recommend you that the images you use to create the tattoos in The Sims have to be in png format, preferably those with transparent background. These will be appropriate, since they don’t have imperfections on the edges and will make our work easier.
 1. Sims 4 Studio
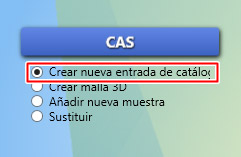
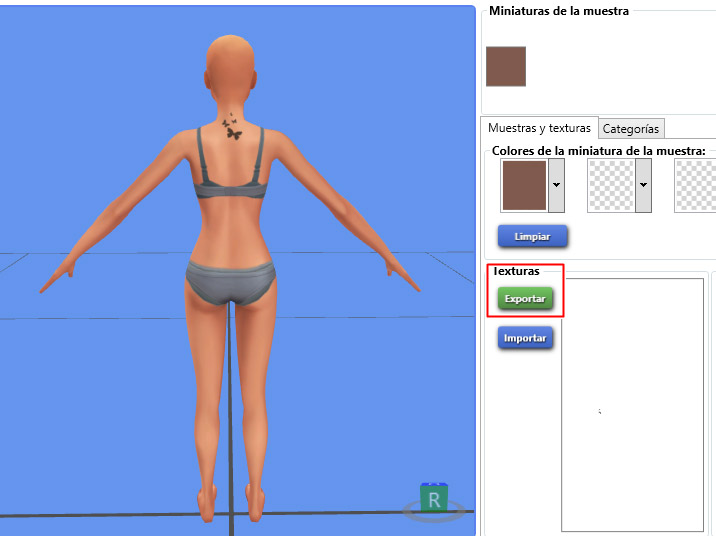
- Open sims 4 studio and select the option to create new mask from catalog and click the CAS.
- In the next window we have to select the gender, age and type of content.
- When all the tattoos the game contains appear, select the one you want and click next.
- 4. Save the file appears in a new folder, then click in Export and save the file in the folder you just created.
*“important, do not close the program!
2. Photoshop & Paint
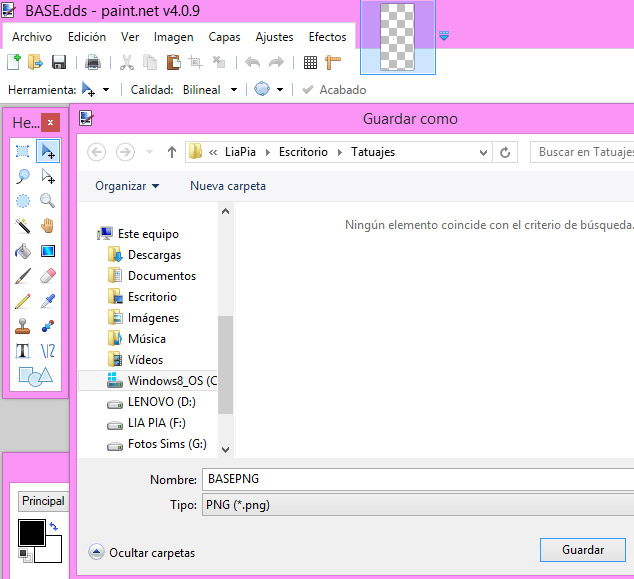
- Open the dds file with the paint.net program, and save it as a PNG. “File-save as…- (name) png-saving, and in the next window do not touch anything and accept”
-
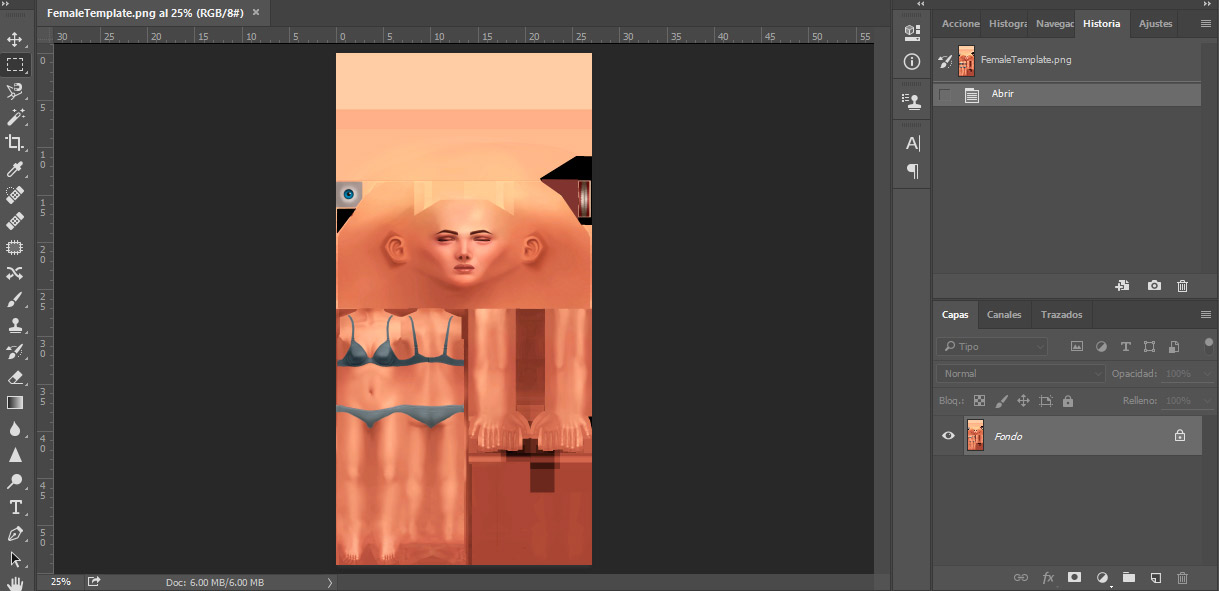
 Now we are going to work with Photoshop. Open the texture of the body in order to place the tattoo area.
- Now place the tattoo image that we want. “File-place embedded elements - –seek the image-accept”
-
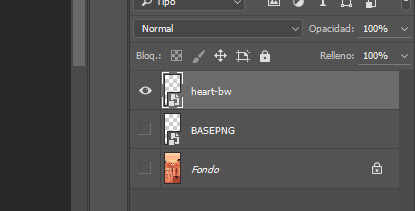
Now in the layers section, select the layer with the tattoo and press the ctrl + j keys to duplicate it
Work on the copied layer and then blind the original layer, removing the eye on the left side. -
 We continue with the copied layer selected and press the E key and to have the eraser tool and remove the original tattoo. After this we should only see the texture of the sim completely clean.
-
On the same copied layer, we will place the tattoo image we want to create with the same procedure we followed in step 3.
It is quite possible that the tattoo image you downloaded is too big, but this can be easily fixed. To scale the image, press the alt + shif keys and from the corner of the image we make it smaller. When you have the ideal size, click Enter. If you think you still need to edit it, repeat the procedure.
(press ctrl + t to select)
when you see that the image is added and has a large x in the middle, just press Enter - In order to move the image after scaling it, make sure you have selected the layer of the tattoo image and then we press the v key to move it and place it where we want.
-
If you have already positioned correctly the tattoo, we will now play with the layers to save our work. We have to blind the texture layer of the body and maintain without the eye visible the original tattoo layer, remaining this way.
- Finally save the PNG file in the folder you created, with a new name to know which one is the new tattoo.
3. Paint .NET + Sims 4 Studio
- Open the png file we saved with paint.net
-
Then without moving anything we do the following:
file-save as-and select the last format that says .dds -
A saving configuration window will open. It is very important that you mark the following:
DXT5 (interpolated alpha channel)
compressor type: group setting
error metric: perceptive
Additional options: create mip maps
4. Sims 4 Studio
- Select the option to import.
- Find the dds file you saved with paint.net.
And ready! You finished your first tattoo.
P.S. Your package file was saved on top of the first file you saved when you opened the sims 4 studio.


There are no comments to display.